Use the model you already built
Export a clear view from your normal modelling workflow. There is no separate native-model integration or scene conversion to prepare.
3D model to render
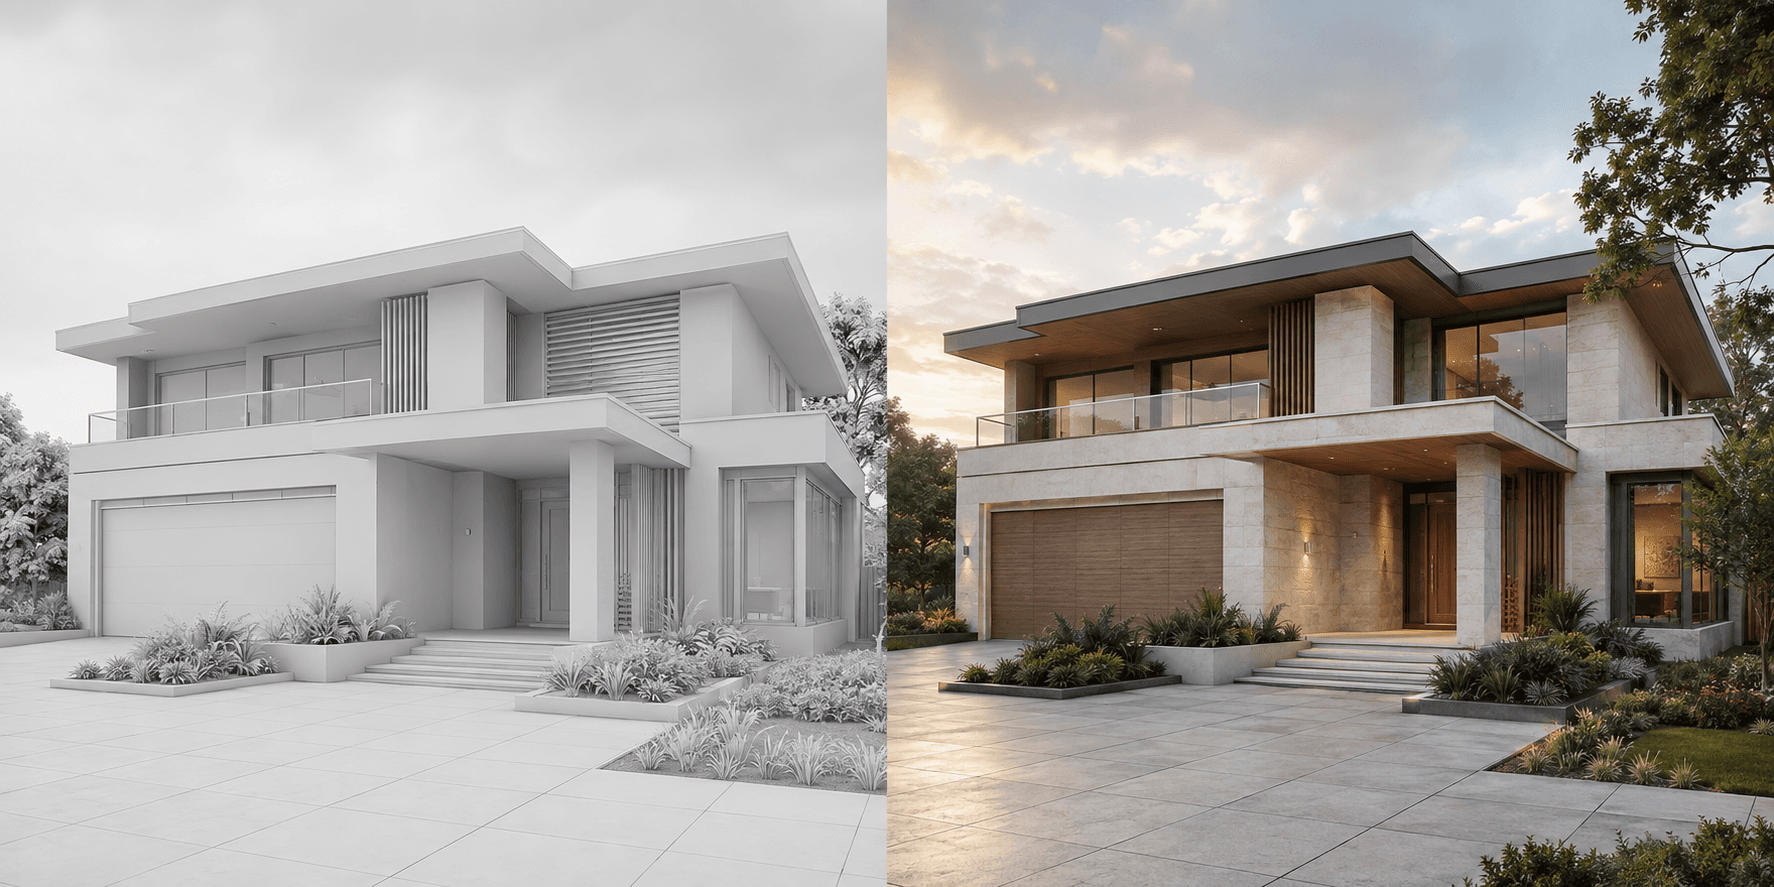
Start with a clean screenshot from SketchUp, Revit, Rhino or your usual modelling tool. Add materials, lighting and context without setting up a separate render scene.
01 /Possibilities
Export a clear view from your normal modelling workflow. There is no separate native-model integration or scene conversion to prepare.
Keep the composition and viewpoint that best explains the design instead of starting a new visualization from scratch.
Compare stone, timber, render, glazing, planting and lighting ideas using the same underlying model view.
02 /Workflow
Choose an exterior or interior camera that shows the important volumes and avoids severe clipping or hidden geometry.
Hide grids, guides, dimensions, axes and selected edges when possible. Keep shadows simple and the geometry readable.
Describe the material palette, context, landscaping, weather, time of day and presentation mood you want to see.
03 /Questions
No. The workflow starts from a screenshot or image export of the model, so it can fit around different modelling applications.
No. A white or clay-style model can work well when the geometry, openings and camera view are clear.
Yes. You can use a clean image export or screenshot from those tools and other 3D modelling workflows.
Yes. Keep the source view fixed and generate separate visual directions for different façade, interior or landscape palettes.